> ## Documentation Index
> Fetch the complete documentation index at: https://mux.coder.com/llms.txt
> Use this file to discover all available pages before exploring further.
# VS Code Extension
> Pair Mux workspaces with VS Code and Cursor editors
The Mux VS Code extension allows you to easily pair with Mux during development. Our extension works with VS Code and Cursor.
It's especially useful for completing the "last mile" of a task or establishing the initial architecture.
## Overview
The extension has a small initial surface area: a command to open a workspace and a Secondary Sidebar Chat view (Preview).
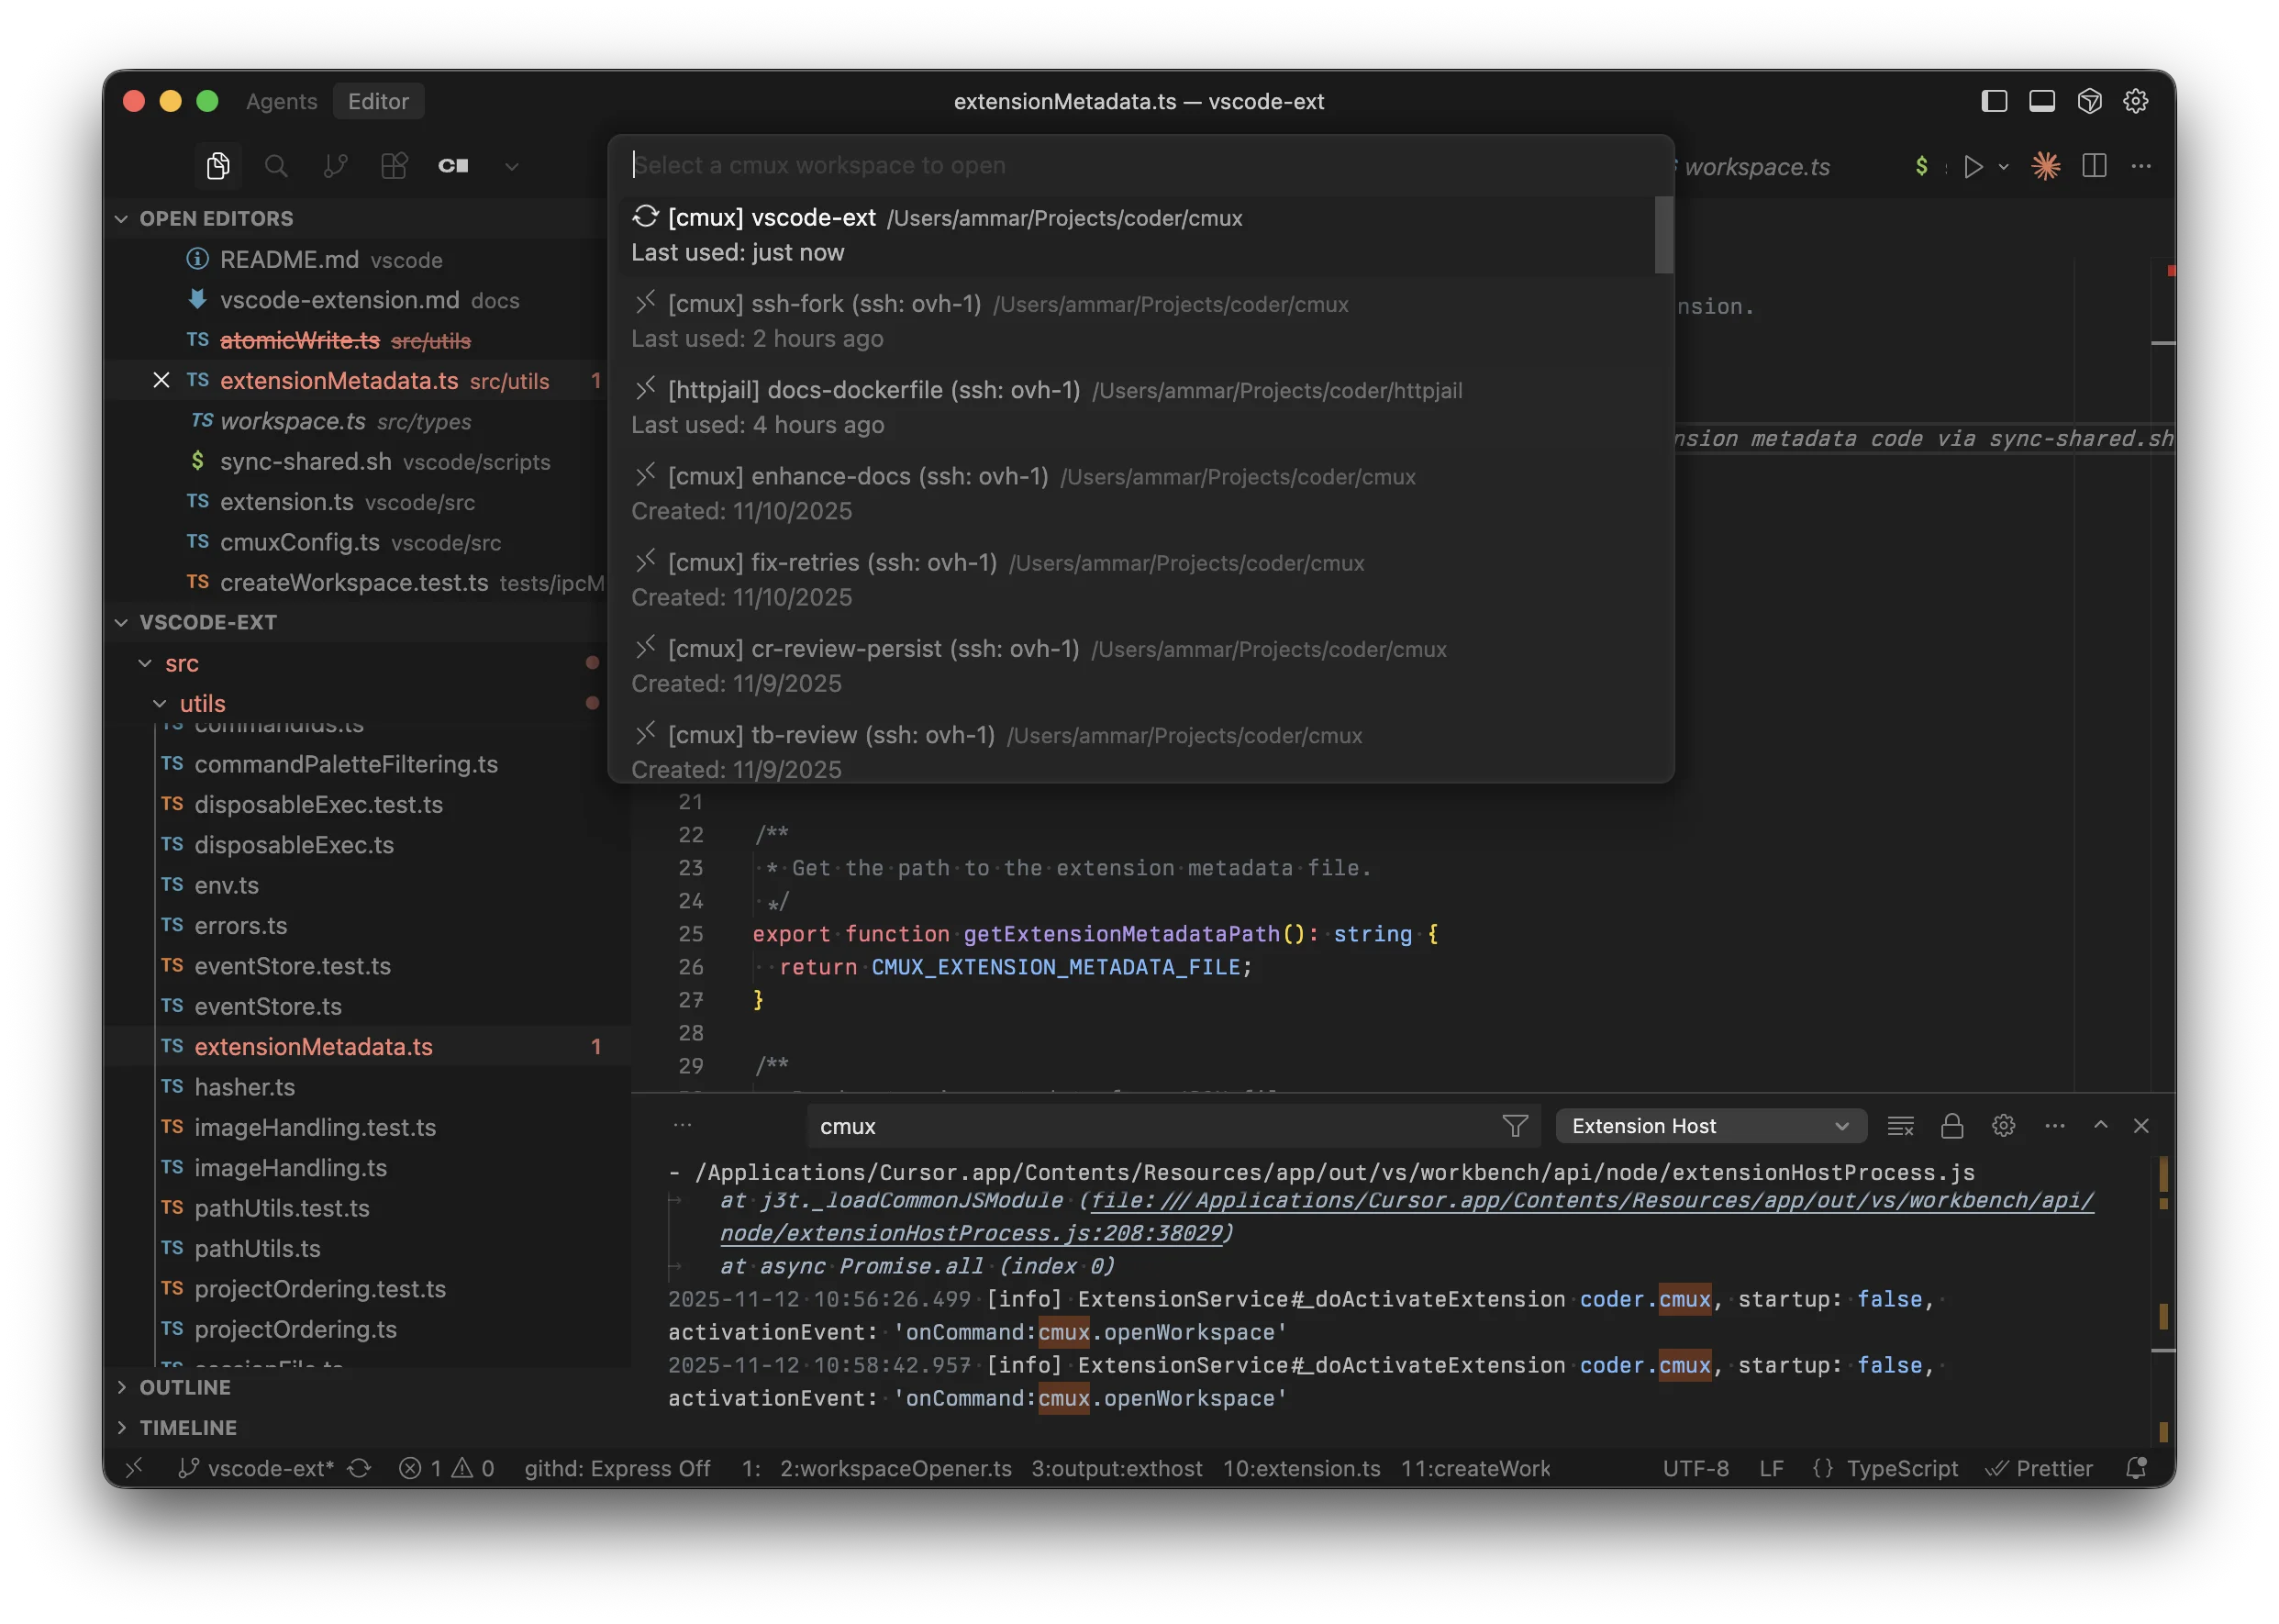 1. Press `Cmd+Shift+P` (or `Ctrl+Shift+P` on Windows/Linux)
2. Type "mux: Open Workspace"
* Optional: Set a custom keybinding in the Command Palette settings
3. Select your workspace
4. It opens in a new editor window
The extension works with both local and SSH workspaces.
## Secondary Sidebar Chat (Preview)
The Secondary Sidebar Chat view is a preview feature and is under active development. Expect bugs
and breaking changes.
You can find it in the **Secondary Sidebar** under the `mux` container: **Chat (Preview)**.
1. Open **Chat (Preview)**
2. Select a Mux workspace from the picker
3. Chat normally; use the pencil icon to open the workspace in a new window
To send messages, Mux must be connected in server/API mode.
If you hit issues, please report them on the [Mux GitHub issues page](https://github.com/coder/mux/issues).
## Installation
### Download
Download the latest `.vsix` file from the [GitHub releases page](https://github.com/coder/mux/releases).
### Install
**Command line:**
```bash theme={null}
# For VS Code
code --install-extension mux-*.vsix
# For Cursor
cursor --install-extension mux-*.vsix
```
**From editor UI:**
1. Open Command Palette (`Cmd+Shift+P`)
2. Type "Extensions: Install from VSIX..."
3. Select the downloaded file
### Workspace Types
The extension displays workspaces differently based on their type:
* **Local**: `📁 [project-name] workspace-name`
* **SSH**: `🔗 [project-name] workspace-name (ssh: hostname)`
## SSH Workspaces
### Requirements
For SSH workspaces to work, you need:
1. **Remote-SSH Extension** installed
* VS Code: `ms-vscode-remote.remote-ssh`
* Cursor: `anysphere.remote-ssh`
* The extension automatically detects which one you have
2. **SSH host configured** in `~/.ssh/config` or in the Remote-SSH extension
### Setup SSH Host
If you haven't configured the SSH host yet:
1. Open `~/.ssh/config` and add:
```bash theme={null}
Host myserver
HostName 192.168.1.100
User username
IdentityFile ~/.ssh/id_rsa
```
2. Or use VS Code's Remote-SSH command:
* `Cmd+Shift+P` → "Remote-SSH: Add New SSH Host..."
## Development
For development instructions, see `vscode/README.md` and `vscode/DEVELOPMENT.md` in the
repository.
## Related
* [Workspaces Overview](/workspaces/)
* [SSH Runtime](/runtime/ssh)
* [VS Code Remote-SSH Documentation](https://code.visualstudio.com/docs/remote/ssh)
1. Press `Cmd+Shift+P` (or `Ctrl+Shift+P` on Windows/Linux)
2. Type "mux: Open Workspace"
* Optional: Set a custom keybinding in the Command Palette settings
3. Select your workspace
4. It opens in a new editor window
The extension works with both local and SSH workspaces.
## Secondary Sidebar Chat (Preview)
The Secondary Sidebar Chat view is a preview feature and is under active development. Expect bugs
and breaking changes.
You can find it in the **Secondary Sidebar** under the `mux` container: **Chat (Preview)**.
1. Open **Chat (Preview)**
2. Select a Mux workspace from the picker
3. Chat normally; use the pencil icon to open the workspace in a new window
To send messages, Mux must be connected in server/API mode.
If you hit issues, please report them on the [Mux GitHub issues page](https://github.com/coder/mux/issues).
## Installation
### Download
Download the latest `.vsix` file from the [GitHub releases page](https://github.com/coder/mux/releases).
### Install
**Command line:**
```bash theme={null}
# For VS Code
code --install-extension mux-*.vsix
# For Cursor
cursor --install-extension mux-*.vsix
```
**From editor UI:**
1. Open Command Palette (`Cmd+Shift+P`)
2. Type "Extensions: Install from VSIX..."
3. Select the downloaded file
### Workspace Types
The extension displays workspaces differently based on their type:
* **Local**: `📁 [project-name] workspace-name`
* **SSH**: `🔗 [project-name] workspace-name (ssh: hostname)`
## SSH Workspaces
### Requirements
For SSH workspaces to work, you need:
1. **Remote-SSH Extension** installed
* VS Code: `ms-vscode-remote.remote-ssh`
* Cursor: `anysphere.remote-ssh`
* The extension automatically detects which one you have
2. **SSH host configured** in `~/.ssh/config` or in the Remote-SSH extension
### Setup SSH Host
If you haven't configured the SSH host yet:
1. Open `~/.ssh/config` and add:
```bash theme={null}
Host myserver
HostName 192.168.1.100
User username
IdentityFile ~/.ssh/id_rsa
```
2. Or use VS Code's Remote-SSH command:
* `Cmd+Shift+P` → "Remote-SSH: Add New SSH Host..."
## Development
For development instructions, see `vscode/README.md` and `vscode/DEVELOPMENT.md` in the
repository.
## Related
* [Workspaces Overview](/workspaces/)
* [SSH Runtime](/runtime/ssh)
* [VS Code Remote-SSH Documentation](https://code.visualstudio.com/docs/remote/ssh)